快速入门
新手在首次开发组件,可以参考以下描述开启第一个组件开发
1.创建文件夹
首先,在本地创建一个文件夹,命名为test

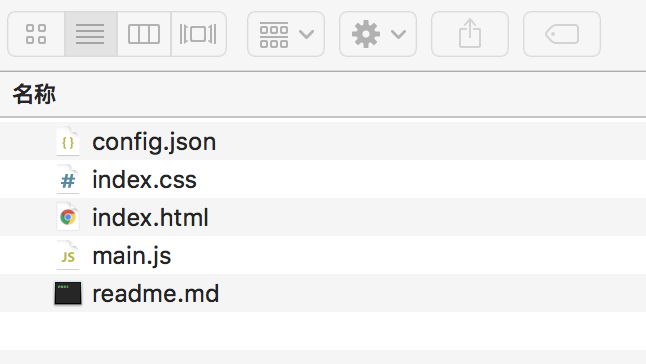
2.创建文件
config.json
index.css
index.html
main.js
readme.md
3.编辑config.json
{
"develop":{
"html":"index.html",
"css":["./index.css"],
"entry":"main.js",
"scripts":{}
},
"plugins":[],
"services":[],
"libs":[],
"customAttributes":{
"pro":[],
"con":[]
}
}
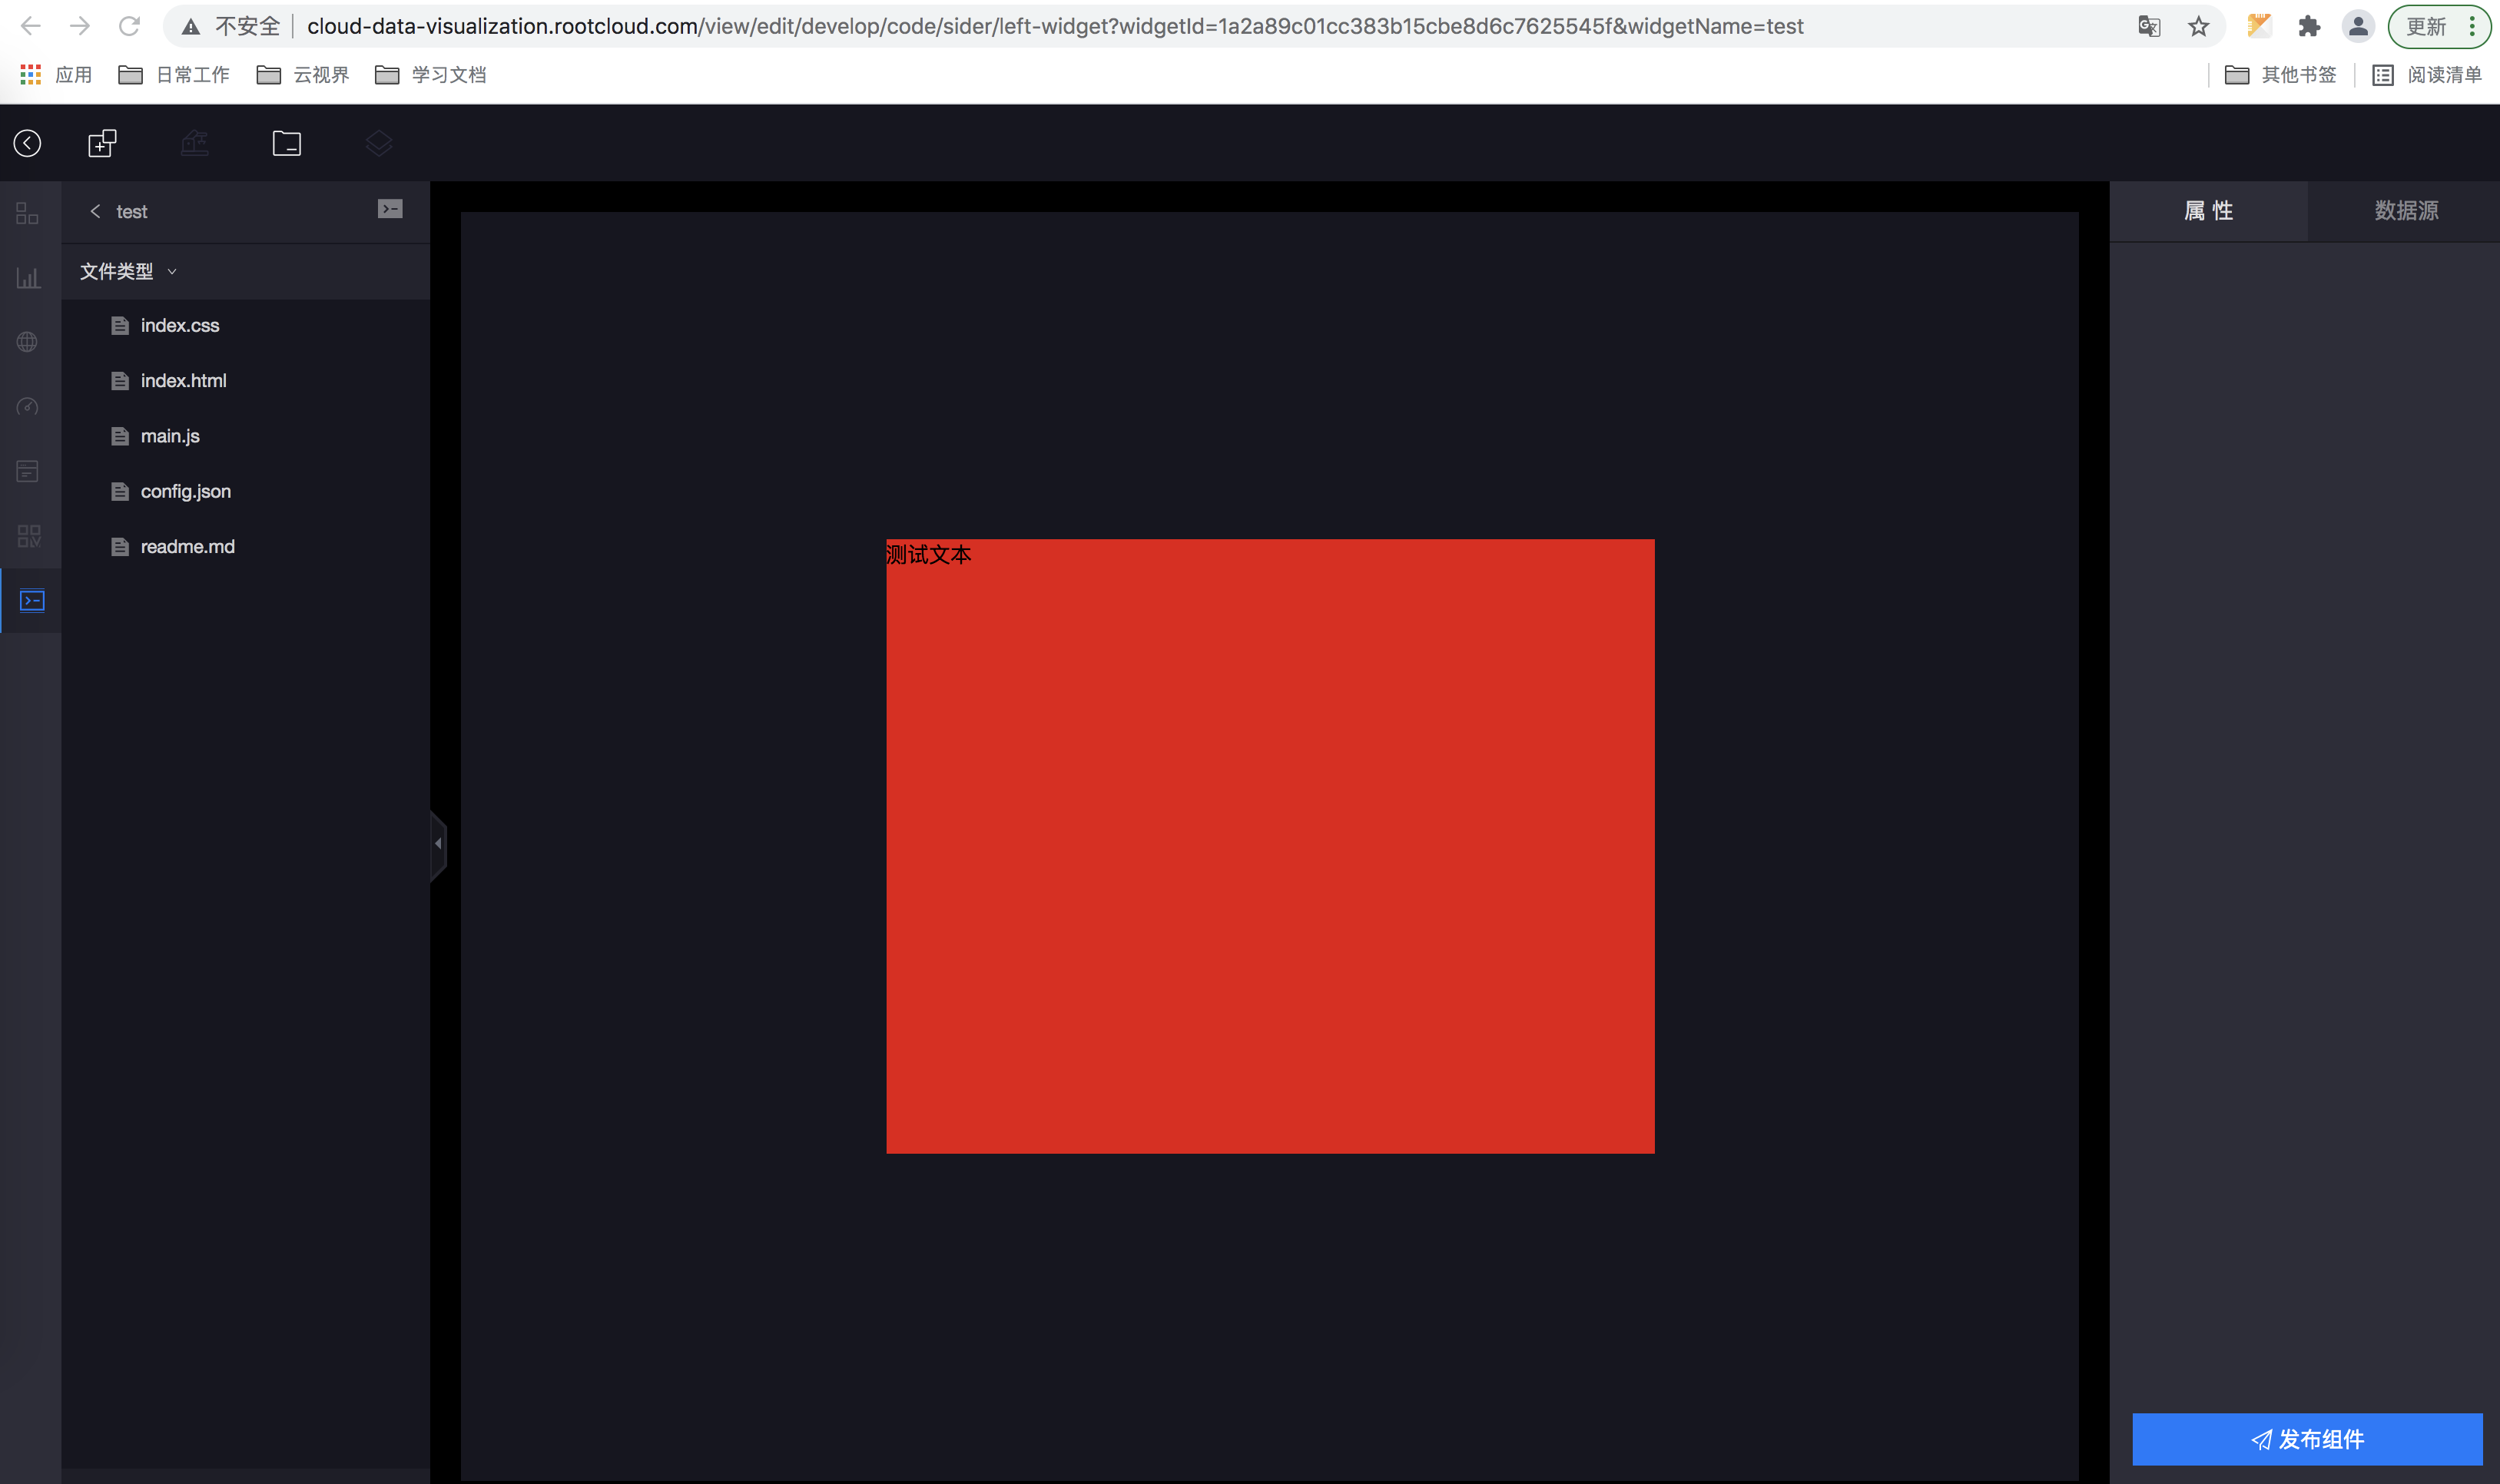
4.编辑index.css
._#customWidget#_{
background-color:rgba(232, 10, 10, 1);
width: 100%;
height: 100%;
position: relative;
}
5.编辑index.html
<!DOCTYPE html>
<html lang="en">
<head>
<meta charset="UTF-8">
<meta name="viewport" content="width=device-width, initial-scale=1.0">
<title>Text Wxd Test</title>
</head>
<body>
<div id="_#visroot#_" class="_#customWidget#_">
测试文本
</div>
</body>
</html>
6.编辑main.js
(function (option) {
return {
onInit() {
console.log('钩子函数 onInit')
},
onDestroy() {
console.log('摧毁')
},
setData(value) {
}
}
})
7.编辑readme.md
# 组件方法
## onInit
组件初始化方法
## onDestroy
组件销毁方法
## setData
组件获取数据方法
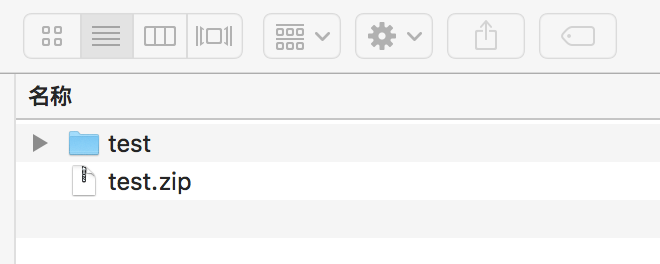
8.打包
将编辑好的文件夹,打包成.zip包
9.组件上传系统
- 向云视界管理员申请组件开发权限,请联系云视界超级管理员或项目经理申请开通。
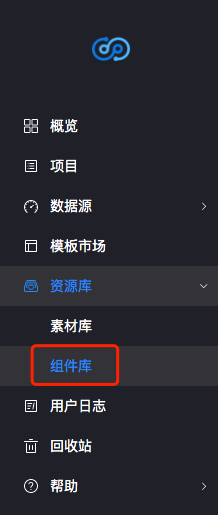
- 点击资源库,选择组件库
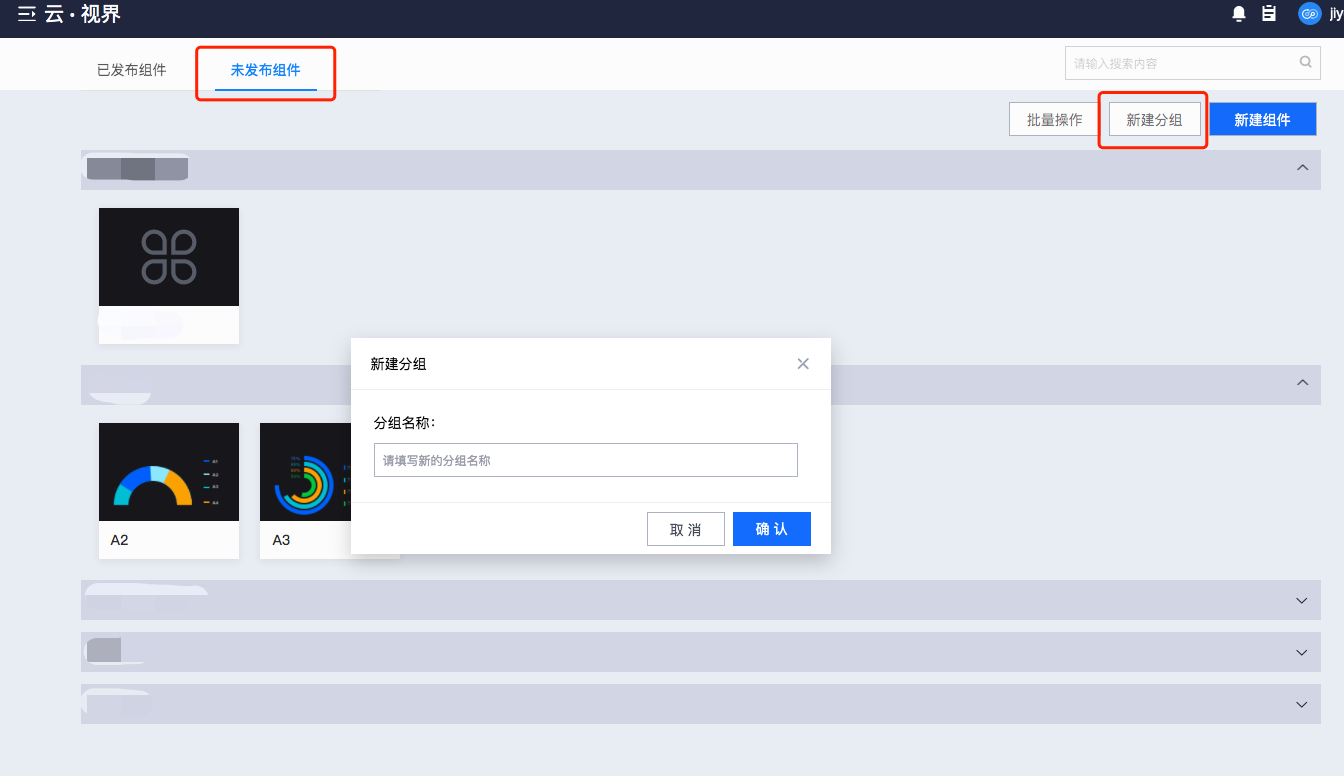
- 点击未发布组件,新建一个分组,命名为test
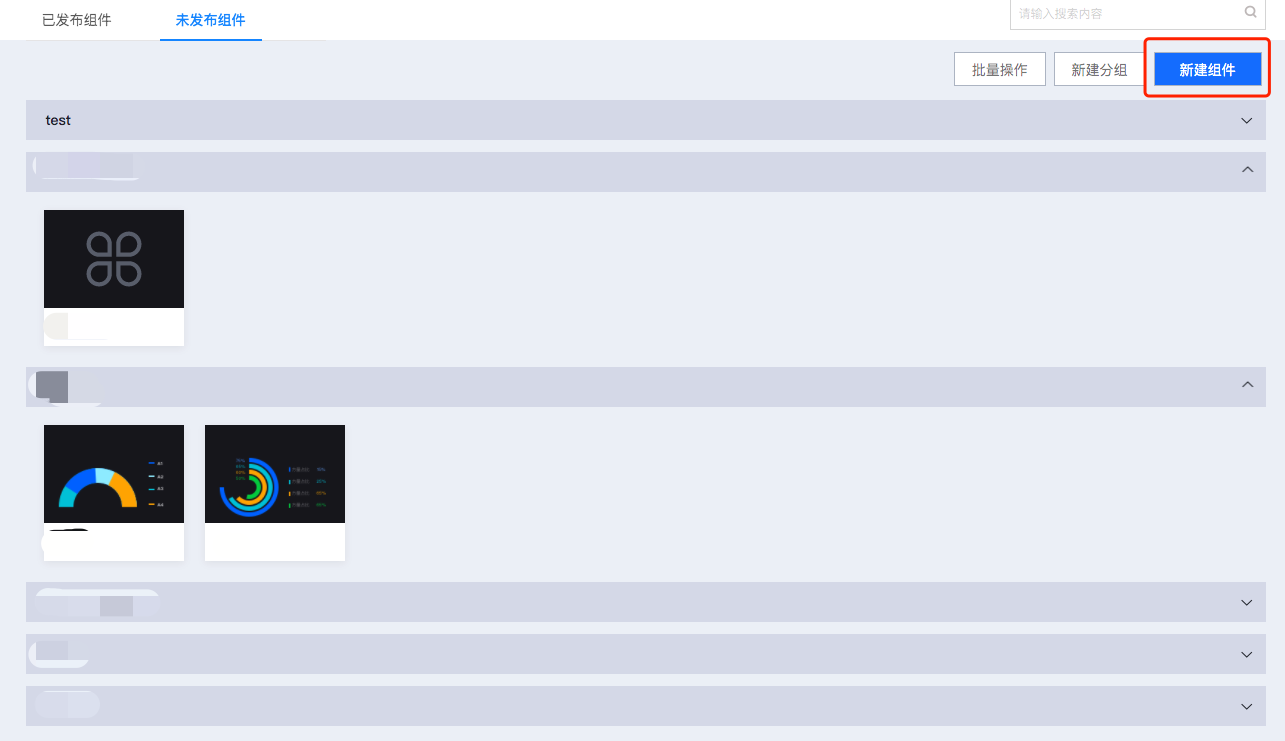
- 点击新建组件
- 进入新建组件页面,填写组件名称,选择分组选择刚建立的test分组,上传120px*84px缩略图,并上传压缩好的test.zip
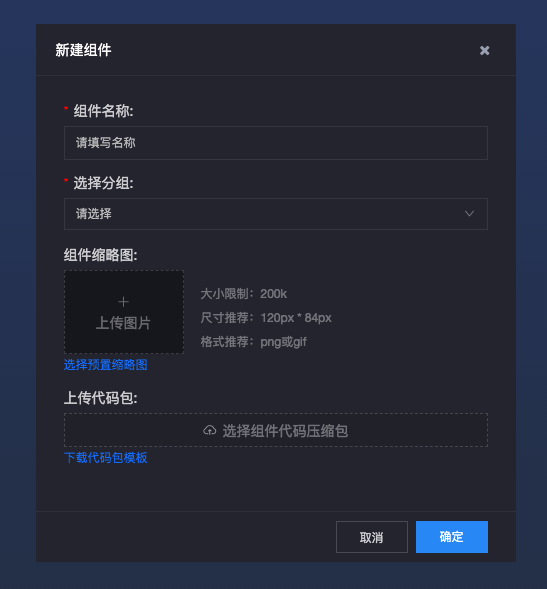
- 组件上传成功