3D
我们在这个案例中我们将通过threejs插件,创建一个3d盒子,然后通过配置属性栏,展示该物体的x、y、z轴的属性值,并且可以通过改变属性值,来影响3d盒子的显示。
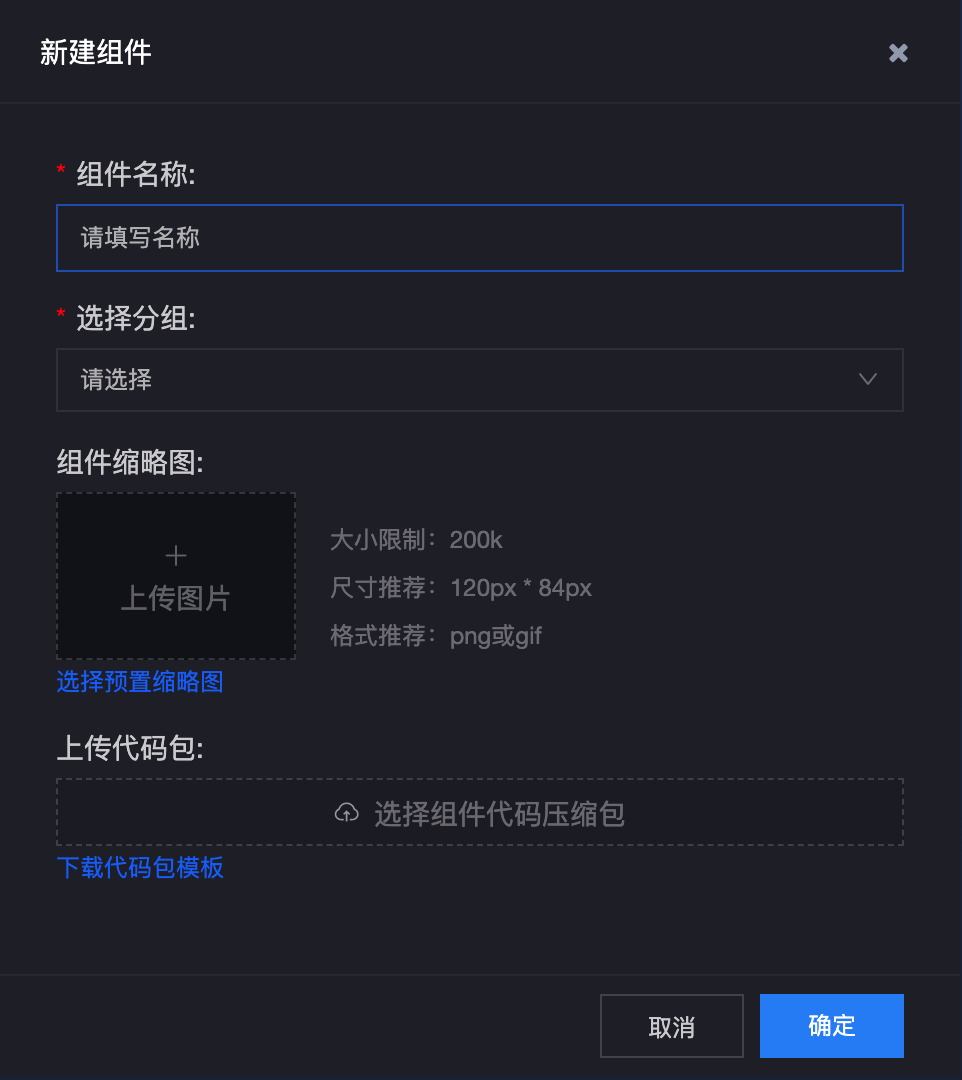
创建组件
html
<body>
<div id="_#visroot#_" class="_#customWidget#_">
</div>
</body>
我们将直接在根结点上渲染,因此没有创建子节点。
config.json
我们要配置一个尺寸属性——BgSize,然后再配置6个数值文本输入框——SlideInputBarComponent,分别用于展示3d物体position属性的x,y,z的值,和展示rotation属性的x、y、z的值。
{
"develop":{
"html":"index.html",
"css":["./css/index.css"],
"entry":"./main.js",
"scripts":{
}
},
"plugins":["threejs","jquery"],
"services":[],
"libs":[],
"customAttributes":{
"pro":[
{
"type":"BgSize",
"name":"尺寸",
"callback":"outSizeCallBack"
},
{
"type":"SlideInputBarComponent",
"name":"position.x",
"customInput":{
"nzMin":0,
"nzMax":100,
"nzStep":1,
"ngvModel":0,
"hideProgress":false
},
"callback":{
"ngvModel":"changeX"
}
},
{
"type":"SlideInputBarComponent",
"name":"position.y",
"customInput":{
"nzMin":0,
"nzMax":100,
"nzStep":1,
"ngvModel":0,
"hideProgress":false
},
"callback":{
"ngvModel":"changeY"
}
},
{
"type":"SlideInputBarComponent",
"name":"position.z",
"customInput":{
"nzMin":0,
"nzMax":100,
"nzStep":1,
"ngvModel":0,
"hideProgress":false
},
"callback":{
"ngvModel":"changeZ"
}
},
{
"type":"SlideInputBarComponent",
"name":"rotation.x",
"customInput":{
"nzMin":0,
"nzMax":100,
"nzStep":1,
"ngvModel":0,
"hideProgress":false
},
"callback":{
"ngvModel":"rotationX"
}
},
{
"type":"SlideInputBarComponent",
"name":"rotation.y",
"customInput":{
"nzMin":0,
"nzMax":100,
"nzStep":1,
"ngvModel":0,
"hideProgress":false
},
"callback":{
"ngvModel":"rotationY"
}
},
{
"type":"SlideInputBarComponent",
"name":"rotation.z",
"customInput":{
"nzMin":0,
"nzMax":100,
"nzStep":1,
"ngvModel":0,
"hideProgress":false
},
"callback":{
"ngvModel":"rotationZ"
}
}
],
"con":[]
}
}
上面的示例中在plugins中添加threejs插件和jquery插件。 然后在customAttributes.pro中配置了一个BgSize组件和6个SlideInputBarComponent。
(function(options){
var THREE=window.plugins.threejs;
var $=window.plugins.jquery;
return {
$data:{
properties_:null,
camera:null,
mesh:null,
scene:null,
renderer:null,
container:null
},
$methods:{
init(){
this.container=document.getElementById('#_visroot#_');
new myVideo(_custom_1232144_custom_);
this.camera = new THREE.PerspectiveCamera( 70, this.container.offsetWidth / this.container.clientHeight, 1, 1000 );
this.camera.position.z = 400;
this.scene = new THREE.Scene();
const texture = new THREE.TextureLoader().load( 'http://minio.bdn-sanycloud-iot-qa.rootcloudapp.com/51dhr01/visualization/51DHR01/material/new/custom_component/1/crate.gif' );
const geometry = new THREE.BoxGeometry( 200, 200, 200 );
const material = new THREE.MeshBasicMaterial( { map: texture } );
this.mesh = new THREE.Mesh( geometry, material );
this.scene.add( this.mesh );
this.renderer = new THREE.WebGLRenderer( { antialias: true } );
this.renderer.setPixelRatio( window.devicePixelRatio );
this.renderer.setSize( this.container.offsetWidth, this.container.clientHeight );
this.container.appendChild( this.renderer.domElement );
window.addEventListener( 'resize', this.onWindowResize.bind(this) );
this.animate();
},
changeX(data){
if(this.mesh){
this.mesh.position.x=data;
}
},
changeY(data){
if(this.mesh){
this.mesh.position.y=data;
}
},
changeZ(data){
if(this.mesh){
this.mesh.position.z=data;
}
},
rotationX(data){
if(this.mesh){
this.mesh.rotation.x=data;
}
},
rotationY(data){
if(this.mesh){
this.mesh.rotation.y=data;
}
},
rotationZ(data){
if(this.mesh){
this.mesh.rotation.z=data;
}
},
onWindowResize(){
this.camera.aspect = this.container.offsetWidth / this.container.clientHeight;
this.camera.updateProjectionMatrix();
this.renderer.setSize( this.container.offsetWidth, this.container.clientHeight );
},
animate() {
requestAnimationFrame( this.animate.bind(this) );
this.renderer.render( this.scene, this.camera );
}
},
$hooks:{
onInit(properties_){
this.properties_=properties_;
this.init();
},
onDestroy(){
},
setData(data,datasourceInfo){
if(datasourceInfo&&data&&data.data){
}
},
outSizeCallBack(info){
if(this.properties_){
$('#_#visroot#_').css('height',this.properties_.style.height);
$('#_#visroot#_').css('width',this.properties_.style.width);
this.onWindowResize();
}
}
}
}
})
在js头部我们,首先引入了threejs和jquery插件。
我们在初始化方法onInit里给properties赋值。在init方法中初始化了threejs部分的代码,这部分采用的是threejs官方的一个demo。点击查看案例
当组件尺寸发生变化的时候,threejs需要重新计算画布的大小,这里outSizeCallBack方法里调用了onWindowResize方法,用于重新绘制视口的宽高。
在$methods函数中添加了数值文本输入框的回调函数,change X、changeY、changeZ等。
运行后的效果如下图所示:
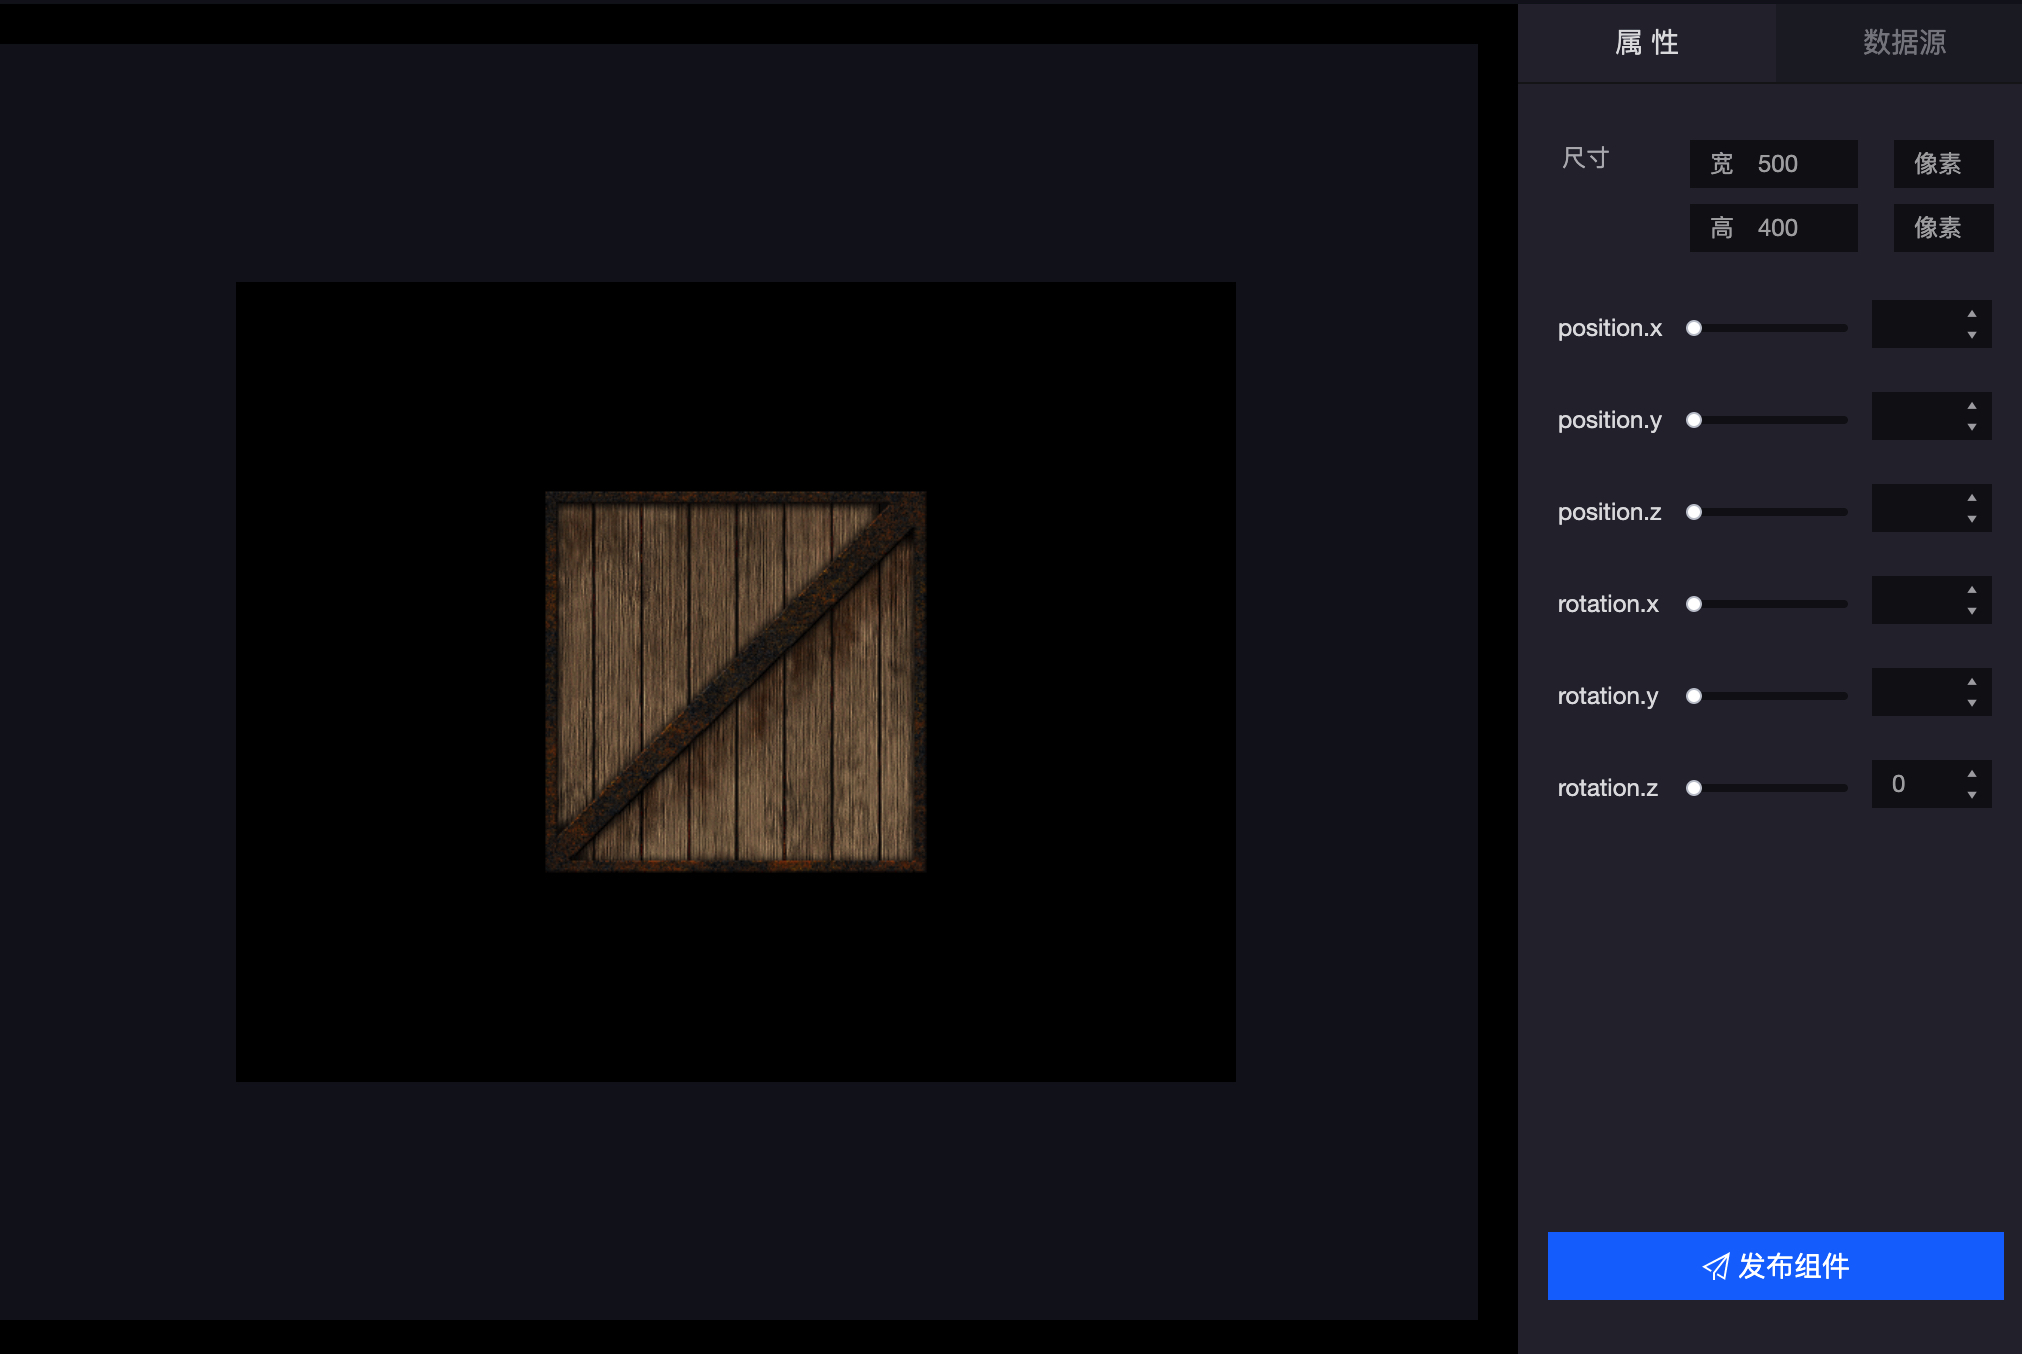
用户可以通过改变属性栏的值,来控制3d物体的旋转和位移。
在本例中并没有连接数据源,因此setData方法是空的,用户可以根据自己的需求,配上数据源组件,在setData方法里根据返回的值,通过改变3d物体的属性,从而实现数据驱动的效果。